Getting started
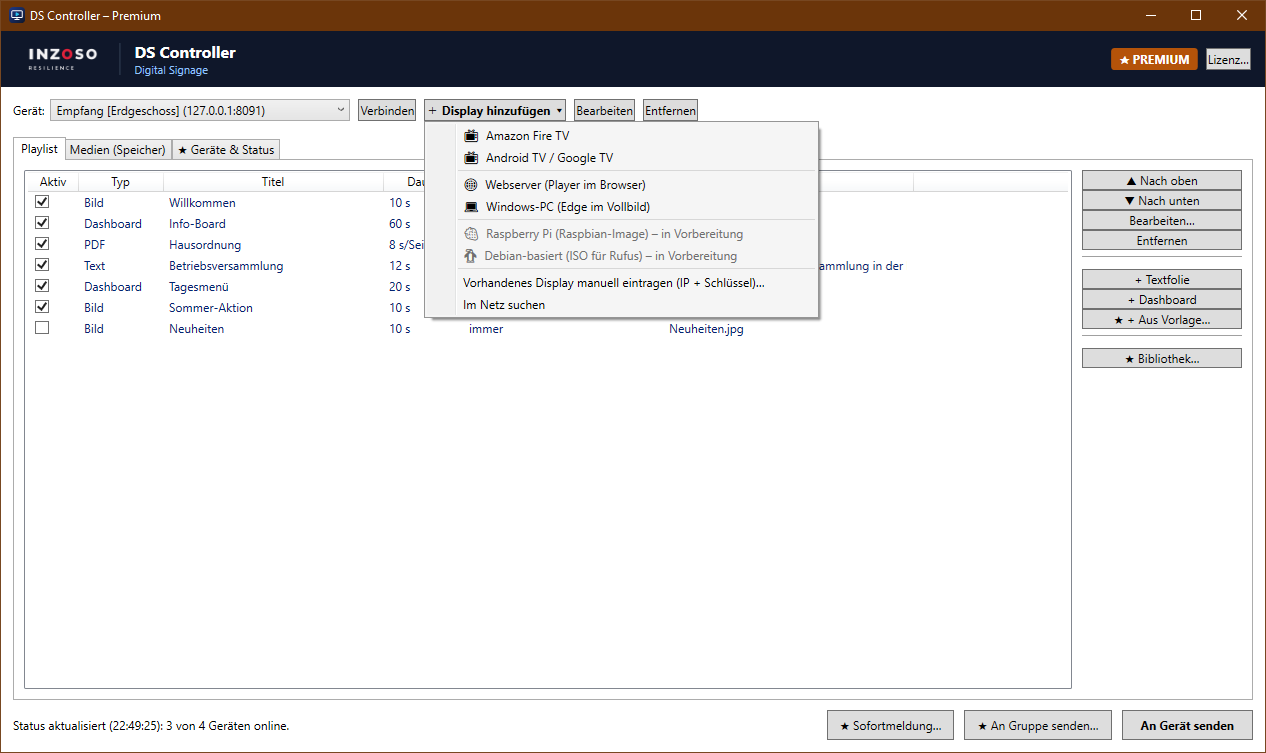
In the DS Controller: “+ Display hinzufügen” › “Android TV / Google TV”. Suitable for NVIDIA Shield, Chromecast with Google TV and smart TVs running Android TV, for example. Requirement: Android TV from Android 5.1 with developer options.
Step 1: Prepare the device
Set up the Android TV or Google TV device and join the same network as the PC.
Tip: For continuous operation a LAN connection is more stable than Wi-Fi.
Step 2: Unlock developer options
Android TV: Settings › Device Preferences › About.
Google TV: Settings › System › About.
Click “Build” (or “Android TV OS build”) 7 times until “You are now a developer” appears.
Step 3: Turn on USB debugging
Settings › Device Preferences › Developer options › USB debugging: switch to ON (Google TV: Settings › System › Developer options).
Tip: If the device also has “Network debugging” (e.g. NVIDIA Shield), switch that on as well.
Note: Devices that only offer “Wireless debugging” with a pairing code are not supported yet.
Step 4: Read the IP address
Settings › Network & Internet › select the connected network. Enter the IP address in the wizard.
Tip: Reserve a fixed IP address for the device in your router.
Step 5: Install the player
Click “Player installieren” in the wizard. The first time, the TV asks “Allow USB debugging?”. Tick “Always allow from this computer” and confirm with OK. The wizard also allows the player to start automatically after a restart.
Step 6: Set up continuous operation (recommended)
Settings › Device Preferences › Screen saver (Google TV: Settings › System › Power & energy): set screen saver and sleep mode to “Never”.
Step 7: Pair
After the installation press any button on the remote: IP address and pairing key appear at the bottom left. Enter the key in the wizard and click “Als Gerät hinzufügen”.
Menu names may differ slightly depending on the manufacturer.